
Project Homelab: Designing and Building a Server Rack from A–Z
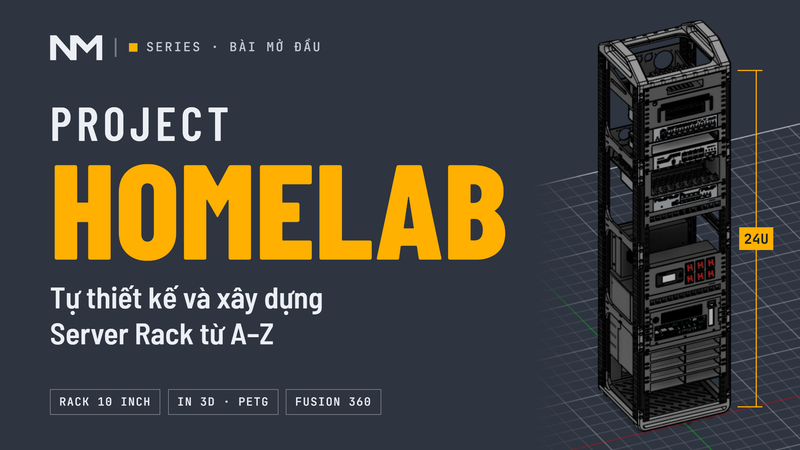
Project Homelab: Self-Designing and Building a Server Rack from A-Z
Some projects start from a real need.
Some projects start because of the desire to learn a new technology.
This project began from a rack I saw a long time ago.
An idea that had been sitting there for a long time
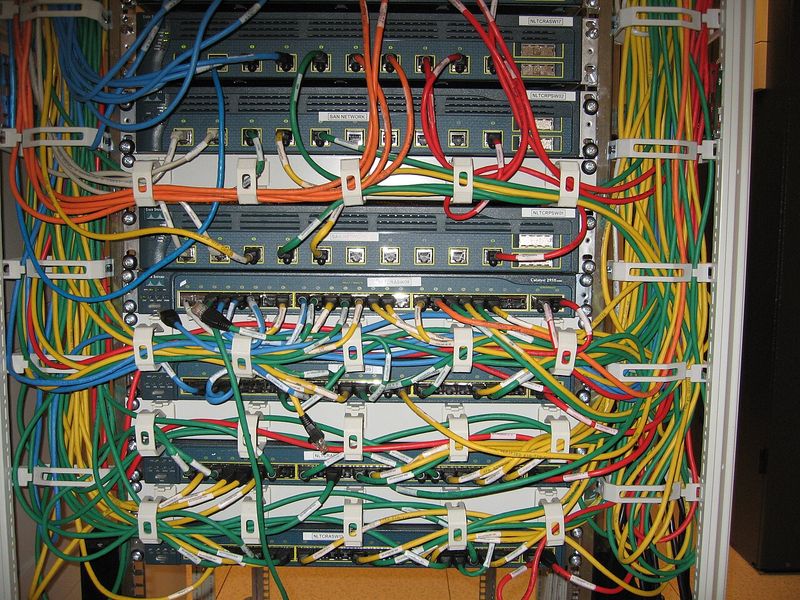
Since I was a child, I was taken by family to a workplace in a shopping center. There, I first saw electrical cabinets and server racks with many devices, network cables, indicators, and systems arranged neatly in layers.
At that time, I didn't really know what was running inside those cabinets, how servers worked, or why so many devices were needed.
But a rather simple thought occurred:
“I also want to have one like that in the future.”
The idea of owning a personal server started from there.
Later, when studying and working in the technical field, I had more opportunities to interact with embedded systems, networking, Linux, Docker, servers, NAS, and other hardware systems. The desire to build my own server system remained, but for a long time it was just at the level of:
“I’ll do it when I have time.”
And as everyone knows, this usually means... not knowing when it will be done.
Until I saw a 3D printed rack
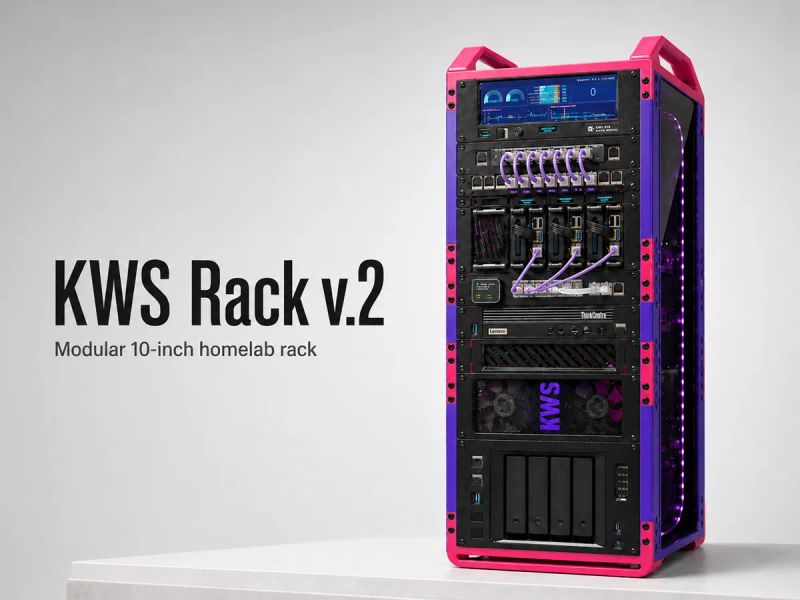
Things got more serious when I stumbled upon the design KWS Server Rack on MakerWorld from Bambu Lab.
Instead of a large metal server rack typically seen in enterprises or data centers, this is a compact rack design that can be made with a 3D printer.
Right then I started thinking:
If the rack can be printed, why not design the entire system myself?
From a fairly simple initial idea of printing a rack to place a few small computers, the project began to expand.
I started researching:
What size should the rack be?
Should I use 10 inch or 19 inch standard?
Can a PETG rack support all the equipment?
How should the network be designed?
Is 2.5GbE or 10GbE needed?
Should I use commercial devices for the router or a mini PC running OPNsense?
How should VLAN be divided?
How many HDDs should the NAS use?
RAIDZ1, RAIDZ2, or separate backups?
How to power the entire rack?
Is a separate PDU needed?
How should cooling and airflow be arranged?
If the devices are not rack mountable... can I design a rack mount myself?
And from there, the initial small project began to transform into a complete Homelab system.
The goal of Project Homelab
The goal of the project is not just to have a server for use.
I want to go through almost the entire process of building a Homelab myself:
Planning → designing → selecting devices → mechanical design → 3D printing → assembly → network configuration → service deployment → testing → optimization.
The system is expected to include various components such as:
Router/Firewall running OPNsense
Managed Switch MikroTik
1GbE / 2.5GbE / 10GbE network
VLAN
VPN
IDS/IPS
Mini PC cluster
Raspberry Pi cluster
Proxmox
Docker
NAS running TrueNAS
RAIDZ
Camera storage
Home Assistant
Monitoring
Backup
PDU system and electrical protection
Cooling system specifically for the rack
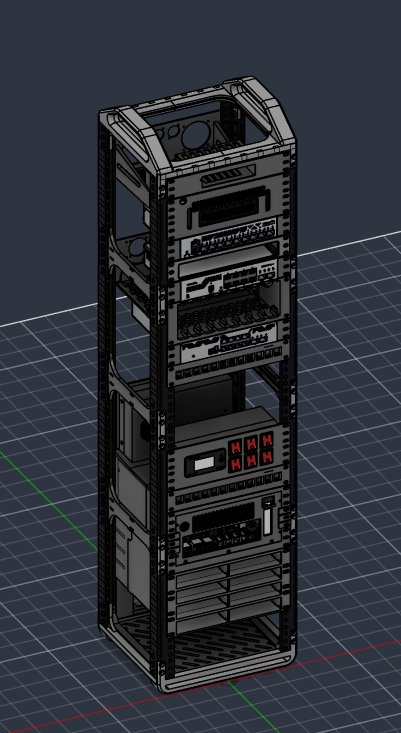
Rack mounts and enclosures designed using CAD and 3D printed
An interesting part of the project is quite a few devices that are not designed to be rack mounted.
Therefore, instead of just buying devices and placing them on a shelf, I want to design enclosures, brackets, trays, and rack mounts using Fusion 360 so that the entire system can fit into a unified rack.
And why am I writing this series?
The official reason:
I want to document the entire process of designing and building the system so that others with similar interests in Homelab, networking, servers, and 3D printing can refer to it.
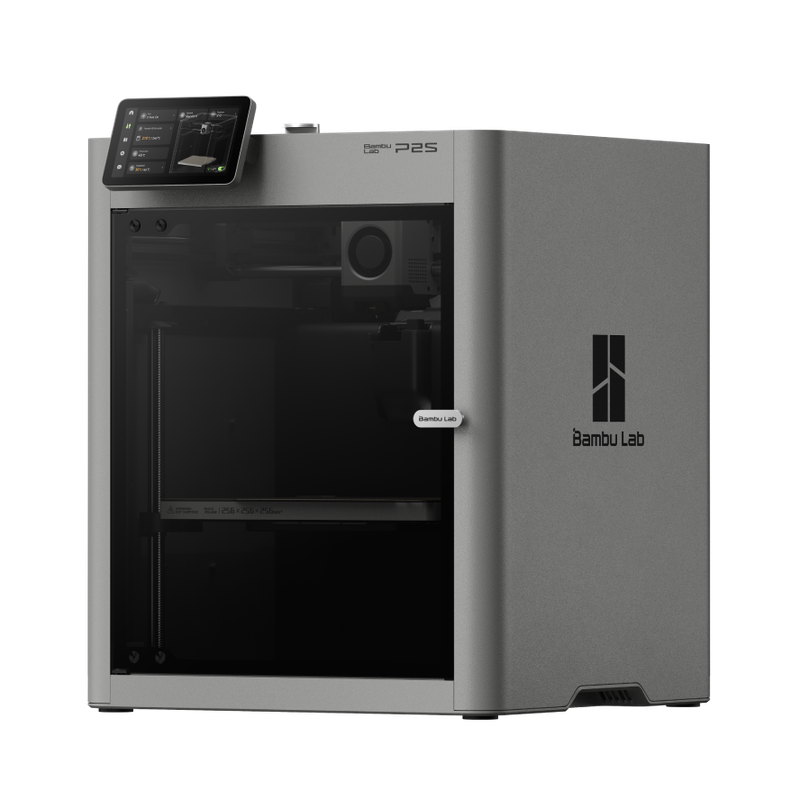
Fortunately, the company also supports me using Bambu Lab 3D printers and printing materials during the project execution.
But this is also a pretty good reason for me to systematically document the project instead of looking back after a few months at a pile of Fusion 360 files with names like:
rack_final.step
rack_final_v2.step
rack_final_v2_fixed.step
rack_final_v2_fixed_REAL_FINAL.step
...and completely forgetting why I designed it that way.
Content of the series
This article will serve as the main table of contents for the entire Project Homelab.
During the implementation, I will continue to update new sections and link them here.
Part 1 — Planning & System Design
From idea to Homelab architecture
Determine the usage goals, services to be deployed, and the scale of the system. From there, build the overall architecture for the server, NAS, network, and future scalability.
Part 2 — Server Rack Design
From KWS Server Rack to custom 10-inch Rack
Design a 10 inch 24U rack, arrange the devices, and build the assembly model on Fusion 360. At the same time, design the rack mounts, trays, and 3D printed details for devices that do not support standard racks.
Part 3 — Network Architecture
OPNsense, MikroTik, VLAN, and 10GbE network
Design the network architecture using OPNsense and MikroTik, divide VLANs, and connect the servers in the system. A 10GbE backbone and 2.5GbE connections will be used to meet internal data transfer needs.
And more...
The following sections will delve into the power supply and electrical protection systems, cooling, NAS & storage, Proxmox, Raspberry Pi, 3D printed hardware design, the assembly process, and testing the entire Homelab.
The series will continue to be updated as the project is implemented.
A project to learn by building myself
Homelab to me is not just a group of servers running in the house.
It is an environment for experimentation.
A place where I can comfortably misconfigure VLANs, lose the entire network connection, reset the router, reinstall the operating system, rebuild the server, or design a rack detail three times just because the first time it was 2 mm off.
More importantly, this is an opportunity to combine many fields I am interested in:
Electronics + Networking + Server + Mechanical Design + 3D Printing + Software.
From seeing the server rack in the shopping center many years ago, to a KWS Server Rack design on MakerWorld, that idea is finally starting to become a real project.
This is Project Homelab.
And this is just the beginning.